Step by step process to install Premium SSL Certificate by Using cPanel.
Installation Instructions Process:
1. Log in to cPanel
The first step is to login to your cPanel account, this can typically be accessed by going to https://domain.com:2083
After navigating to your cPanel login page, enter your Username/Password and click Log in.
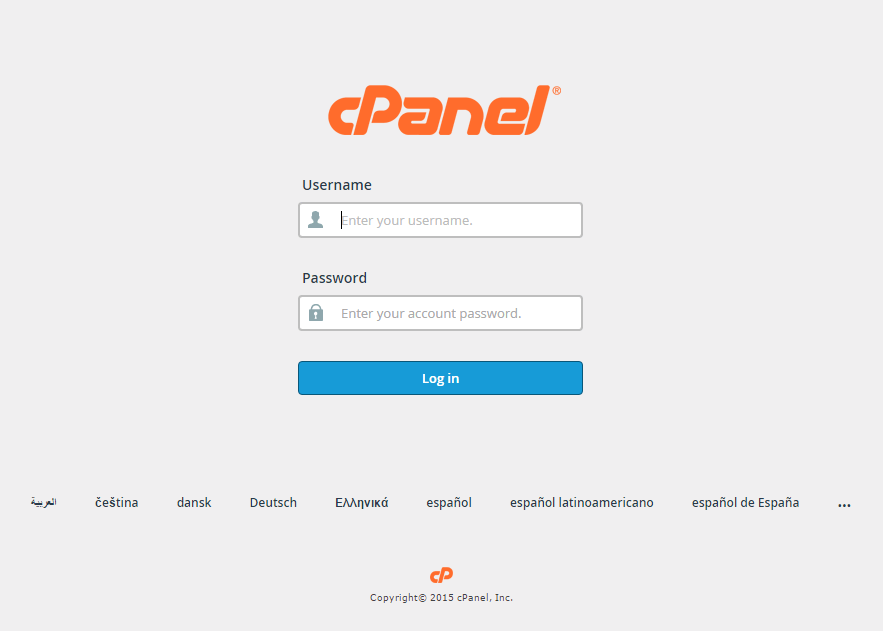
Your cPanel Homepage should look like this:

Note: different versions such as this Theme-Classic may not look like the image above, but should still contain the same concept and category structure.
2. Navigate to the SSL/TLS Manager
You can access your SSL/TLS Manager page by scrolling down to the Security section and selecting the SSL/TLS button.
Note: You can also navigate to the SSL/TLS Manager page by utilizing the Search Feature at the top right of the cPanel home page and searching for “SSL”.

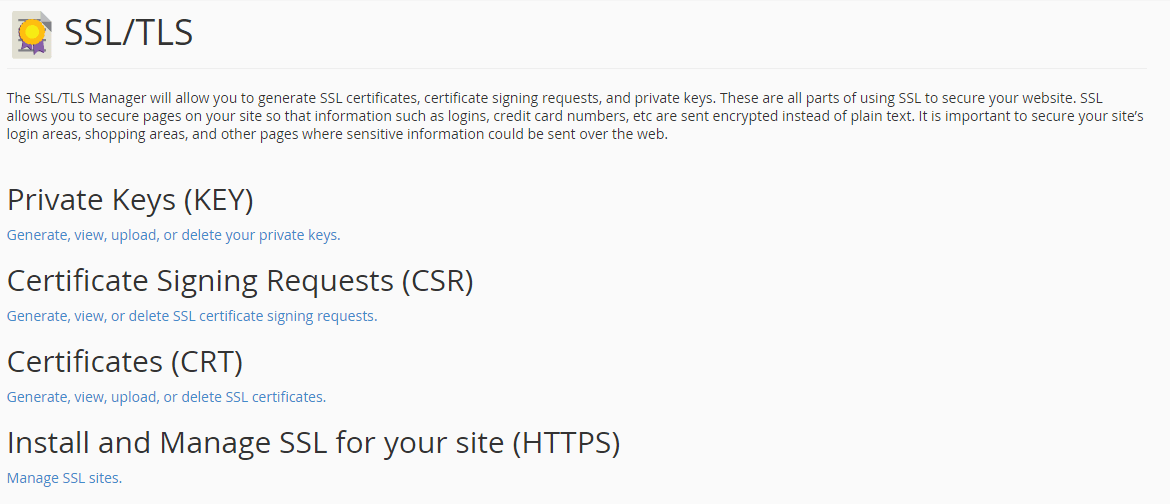
3. Select “Manage SSL Sites”
Your SSL/TLS Manager page will allow you to manage everything related to SSL/TLS configuration for cPanel. The “Manage SSL Sites” Hyperlink is located underneath “Install and Manage SSL for your site (HTTPS)” shown below.
4. Select your domain
Change the Domain drop-down to the appropriate domain name that you want to install your SSL certificate on.

5. Copy and paste your certificate files
Once you have your domain selected, you just need to copy and paste your individual certificate files into the appropriate text box(s) pictured below.

- Certificate (CRT) – This is your server certificate that was issued to your domain(s). Note 1: cPanel should automatically fetch the Certificate (CRT) text if you previously uploaded the server certificate in the “Generate, view, upload or delete SSL certificate” section of your SSL/TLS Manager and selected the correct domain name above in the dropdown. Note 2: If you received the certificate in a ZIP file, click “Extract All” and then drag your server certificate into a text editor such as Notepad. This will allow you to copy all text contents needed including “—–BEGIN CERTIFICATE—–” and “END CERTIFICATE—–“.
- Private Key (KEY) – This is your private key that was created during the generation process. Note 1: cPanel should automatically fetch the Private Key (Key) text if you previously created the Certificate Signing Request (CSR) in the “Generate, view, or delete SSL certificate signing requests” section of your SSL/TLS Manager and selected the correct domain name above in the dropdown. Note 2: If you made the CSR and private key outside of your cPanel account and failed to save the files, you will have problems proceeding and may need to re-issue the SSL certificate with a newly created key pair.
- Certificate Authority Bundle (CABundle) – This is your intermediate certificates that allow browsers and devices to understand who issued your trusted certificate. Note 1: cPanel should automatically fetch the CA Bundle from a public repository.
6. Click “Install Certificate”
Once you have the correct certificate files in the appropriate text boxes, simply click the blue “Install Certificate” button.
Congratulations! You’ve successfully installed your SSL certificate! To check your work, visit the website in your browser at https://yourdomain.com and view the certificate/site information to see if HTTPS/SSL is working properly.
NB: If Your Domain has https Redirect Problem After installing SSL. then Please see this Blog Tutorial For Redirect Your Website to https Click Here
