Step by step process to install Premium SSL Certificate in Microsoft IIS.
The following instructions will guide you through the SSL installation process on Microsoft IIS. If you have more than one server or device, you will need to install the certificate on each server or device you need to secure.
First, Generate a CSR for Microsoft IIS.
The following instructions will guide you through the CSR generation process on Microsoft IIS
1. Open Internet Information Services (IIS) Manager
Click Start, Control Panel, Administrative Tools, and then select Internet Information Services (IIS) Manager.
2. Select the server where you want to generate the certificate
In the left Connections menu, select the server name (host) where you want to generate the request.
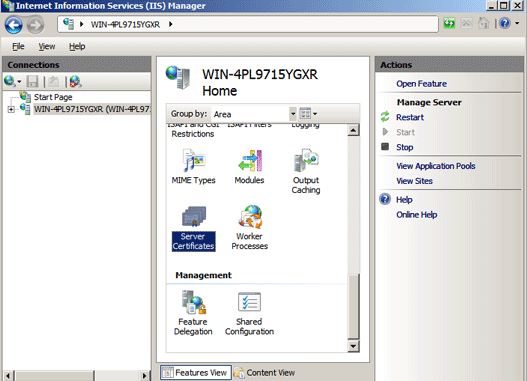
3. Navigate to Server Certificates
In the center menu, click the Server Certificates icon under the Security section near the bottom.

4. Select Create a New Certificate
In the right Actions menu, click Create Certificate Request.
5. Enter your CSR details
In the Distinguished Name Properties window, enter in the required CSR details and then click Next.

Note: To avoid common mistakes when filling out your CSR details, reference our Overview of Certificate Signing Request article.
6. Select a cryptographic service provider and bit length
In the Cryptographic Service Provider Properties window, select Microsoft RSA SChannel Cryptographic Provider and Bit Length of 2048, then click Next.
Note: Bit Length: 2048 is the current industry standard. You may choose a larger key size, but only if you have a requirement to do so, as longer key lengths increase latency and may reduce compatibility.
7. Save the CSR
Click Browse to specify the location where you want to save the CSR as a “.txt” file and click Finish.
8. Generate the order
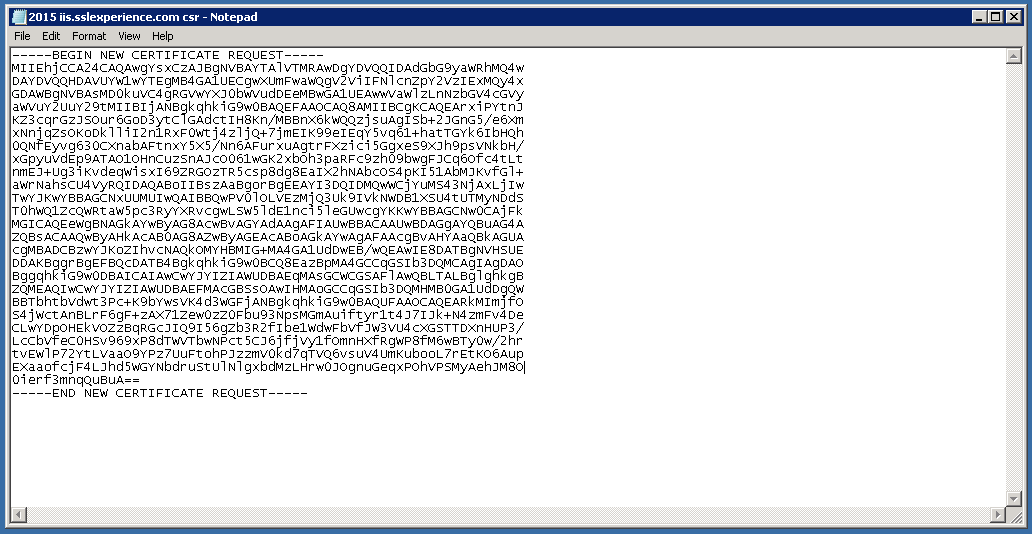
Locate and open the newly created CSR from the specified location you choose in a text editor such as Notepad and copy all the text including:
-----BEGIN CERTIFICATE REQUEST-----
And
-----END CERTIFICATE REQUEST-----
Return to the Generation Form on our website and paste the entire CSR into the blank text box and continue with completing the generation process.
Upon generating your CSR, your order will enter the validation process with the issuing Certificate Authority (CA) and require the certificate requester to complete some form of validation depending on the certificate purchased.
After you complete the validation process and receive the trusted SSL Certificate from the issuing Certificate Authority (CA), proceed with the next step.........
Installation Instructions
1. Launch IIS Manager
Click Start, Control Panel, Administrative Tools, and then select Internet Information Services (IIS) Manager.
2. Select your server name
In the left Connections menu, select the server name (host) where you want to install the certificate.
3. Navigate to the Security section
In the center menu, click the Server Certificates icon under the Security section near the bottom.
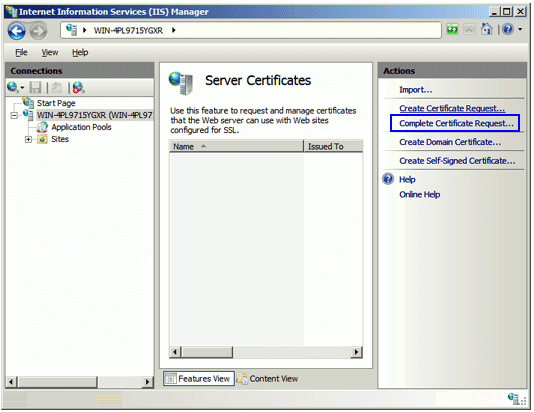
4. Click Complete Certificate Request
In the right Actions menu, click Complete Certificate Request.
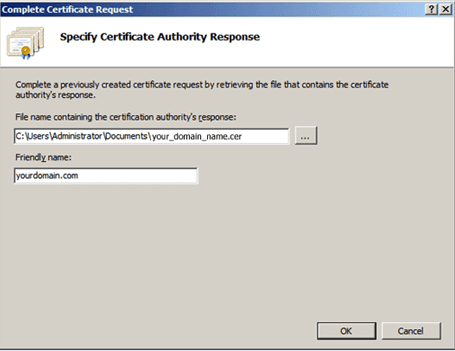
5. Browse to your Server Certificate
In the Complete Certificate Request wizard, click “…” to browse and select Your Server Certificate file that was previously saved on your server’s desktop.
6. Name your certificate
Enter a Friendly Name which is an internal reference name to distinguish the file later. We recommend including the CAs name and expiration date.
7. Click OK
Click OK and the newly installed certificate should appear in the refreshed Server Certificate List.
Note: If you receive an error during this step, please reference the “Known Error Messages in IIS 7” section below.
Binding Your Certificate to Your Website
Now, proceed with the remaining steps which will help you assign or bind the SSL certificate to the appropriate website.
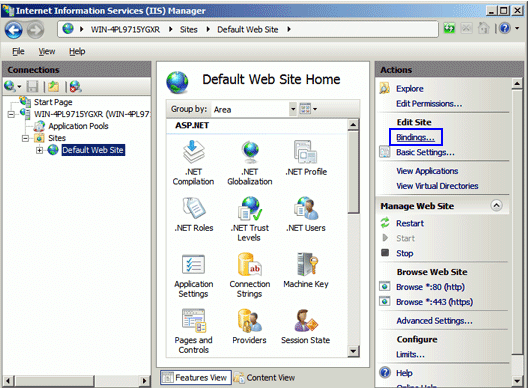
1. Access your Sites folder
From the left Connections menu, expand your server’s name, expand the Sites folder, and then select the site (e.g. Default Web Site) that you want to secure.
2. Click Bindings…
In the right Actions menu, click Bindings…
3. Click Add
In Site Bindings…, click Add.
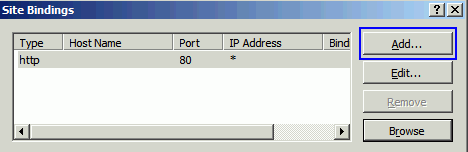
Note: If you already have the appropriate site binding created, click “Edit” and change the SSL Certificate accordingly.
4. Input the following
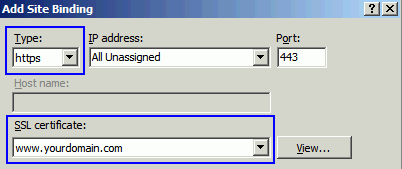
In Add Site Bindings, enter the following information:
- Type – Select “https”.
- IP Address – Select “All unassigned”. Now, if you have multiple IP addresses, select the correct one that applies.
- Port – Enter “443” unless you are listening to SSL traffic on another port (e.g. 992).
- SSL Certificates – Select the “friendly name” of the SSL certificate you just installed. You can always click “View” to confirm the certificate's validity details.
5. Click Ok
Click Ok to finish binding the SSL certificate to your live website.
Congratulations! You’ve successfully installed your SSL certificate! To check your work, visit the website in your browser at https://yourdomain.tld and view the certificate/site information to see if HTTPS/SSL is working properly. Remember, you may need to restart your server for changes to take effect.
