Step by step process to Install Free SSL Certificate on cPanel
Instructions Process:
1. Log in to cPanel
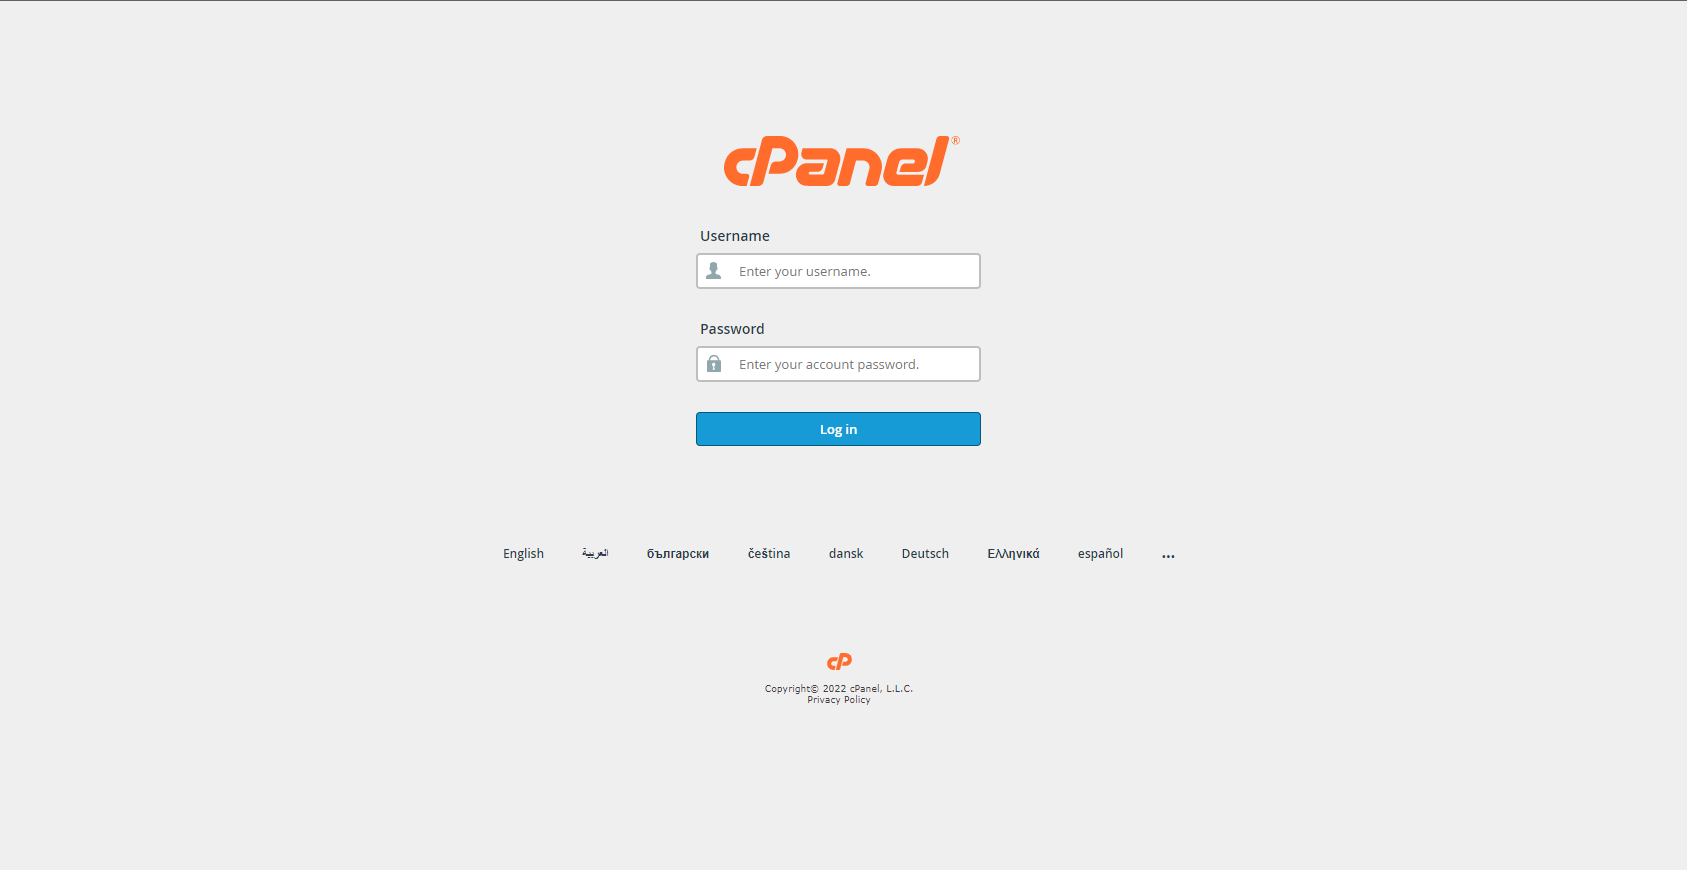
The first step is to login to your cPanel account, this can typically be accessed by going to https://domain.com:2083
After navigating to your cPanel login page, enter your Username/Password and click Log in.
Your cPanel Homepage should look like this:
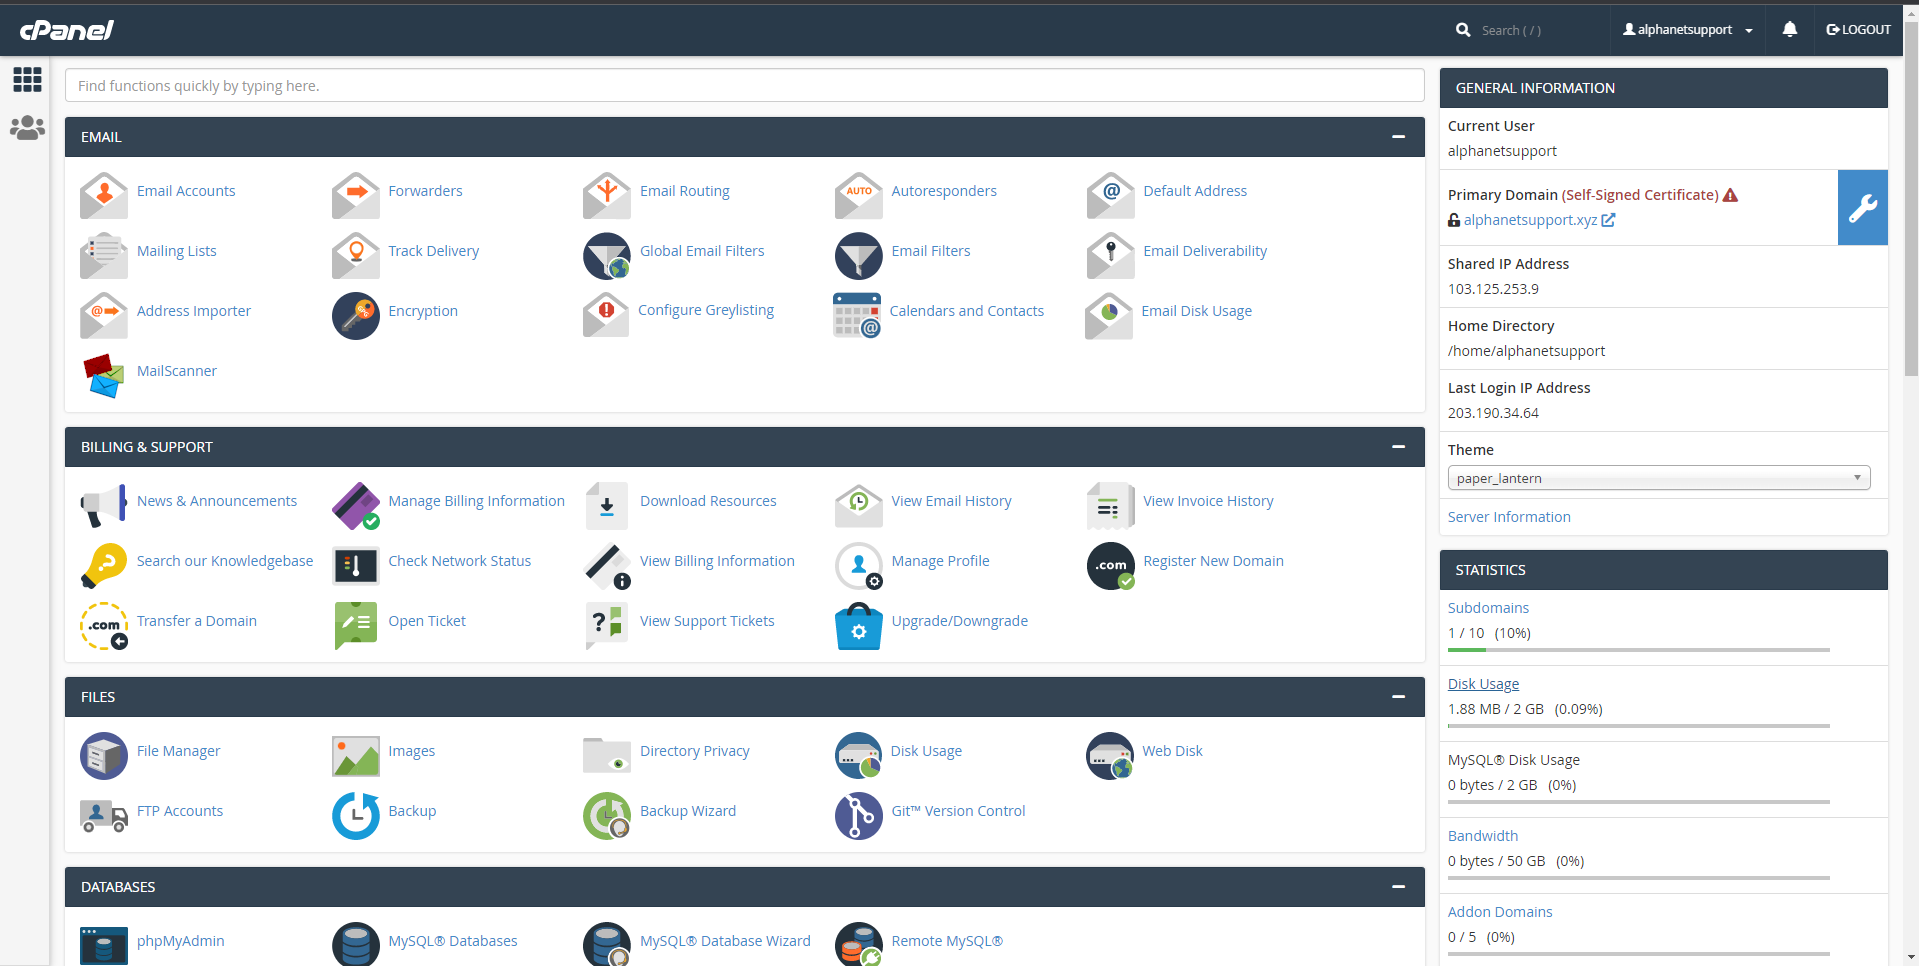
Note: different versions such as this Theme-Classic may not look like the image above, but should still contain the same concept and category structure.
2. Navigate to the SSL/TLS Status Option in the Security section
You can access your SSL/TLS Status page from cPanel Search button.
Now look for SSL/TLS Status icon in the control panel as shown in the screenshot below. Click on the SSL/TLS Status icon which will take you to the SSL/TLS Status enduser panel.
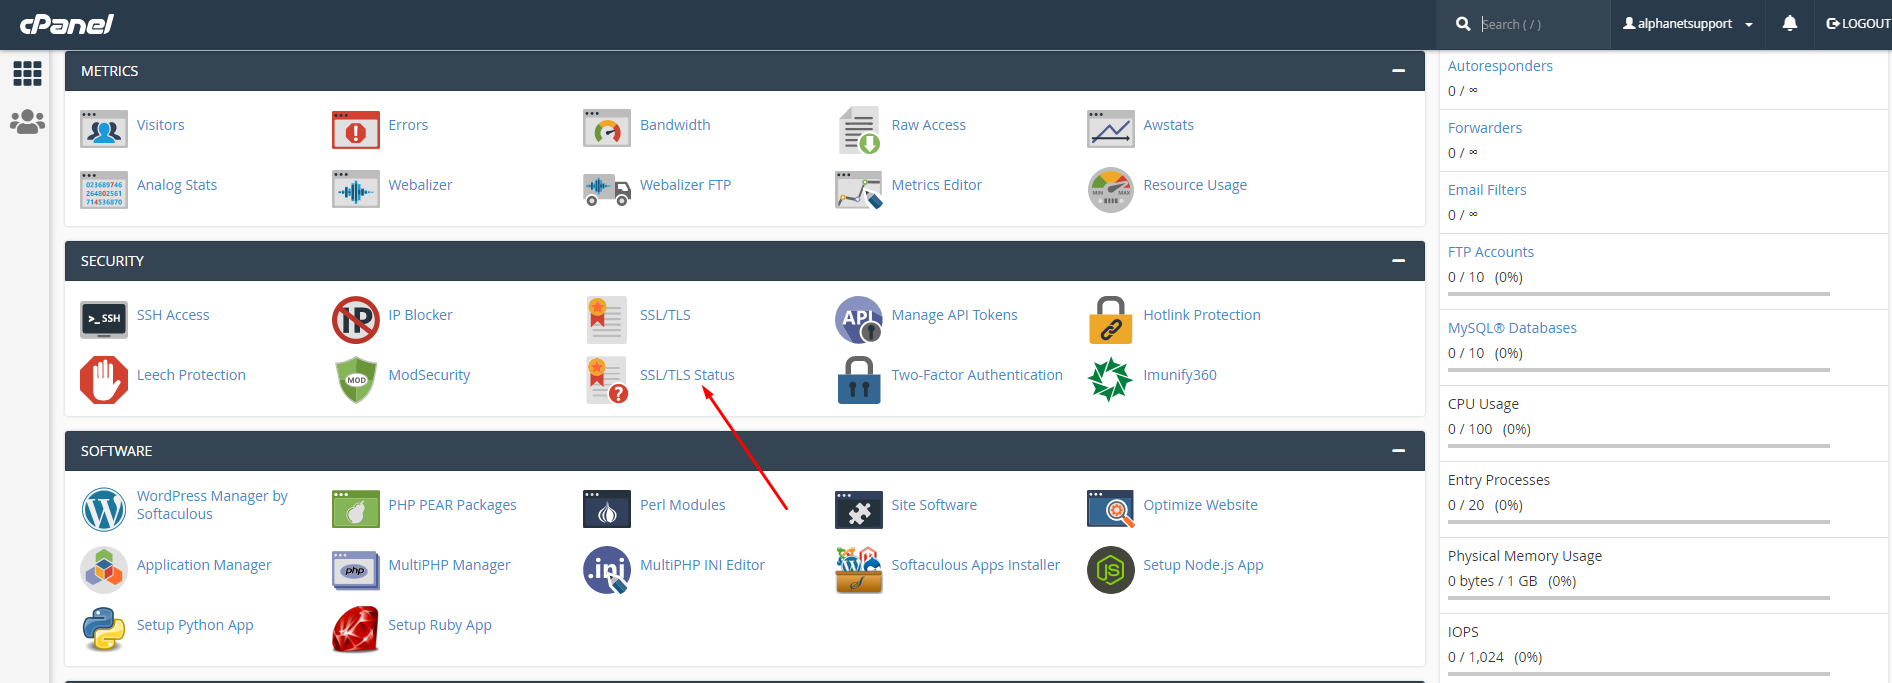
After Click SSL/TLS Status Option then you will see the Following Page From there.
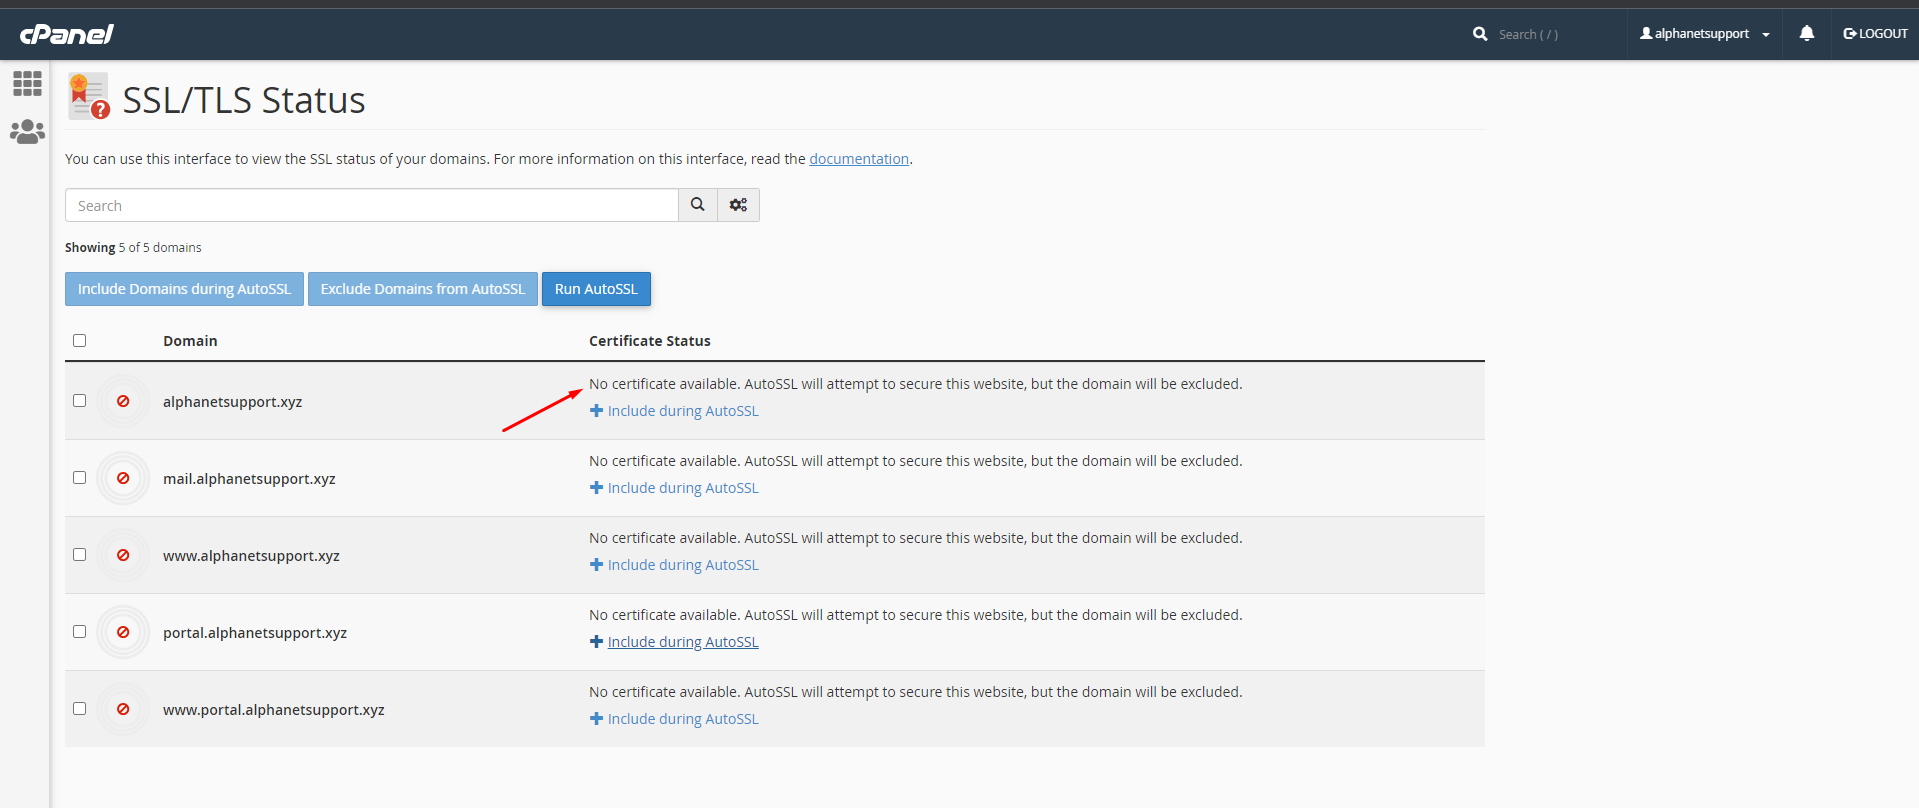
3. Select Mark Option that website you want to install SSL then In the upper right-hand corner, click on Run AutoSSL.
Note: Before Install Free SSL Must You need to check Your DNS From Your cPanel and Domain Panel.
Make sure the website is pointing to your server with us. Use a DNS checker to make sure the IP address of the A record is the same as your server IP.
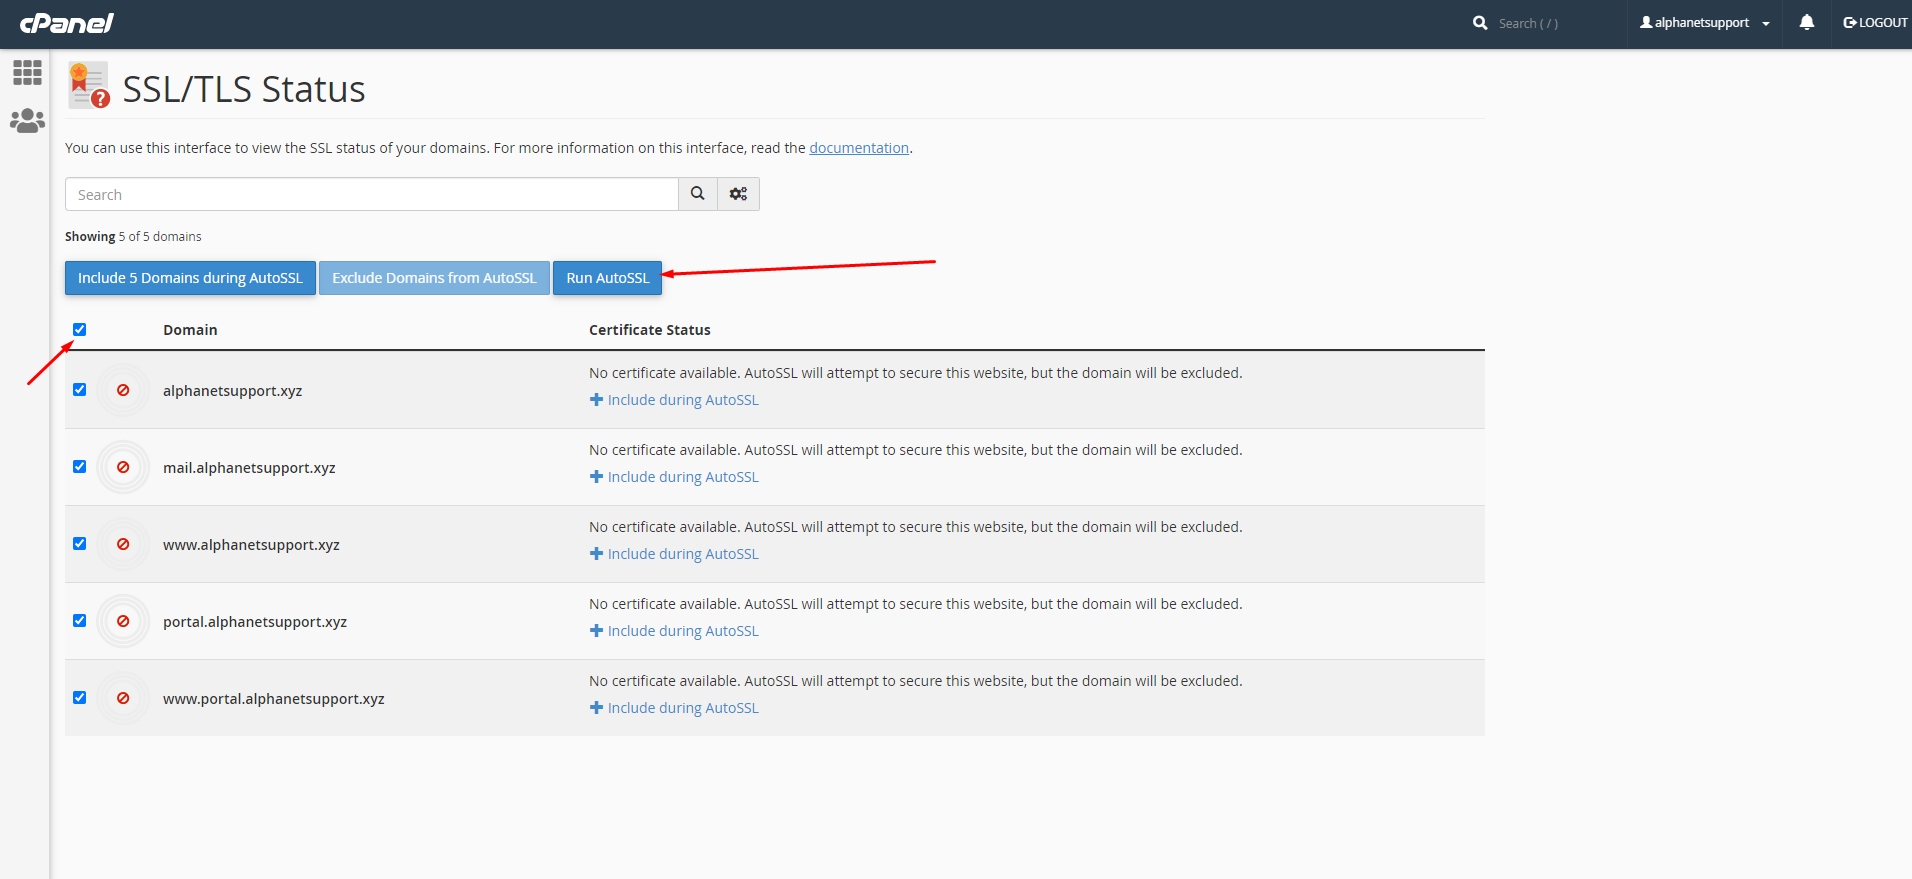
AutoSSL will take a few minutes to finish. When it completes successfully the page will update with a success notification.
Once it has completed your domain will have a new valid AutoSSL installed.
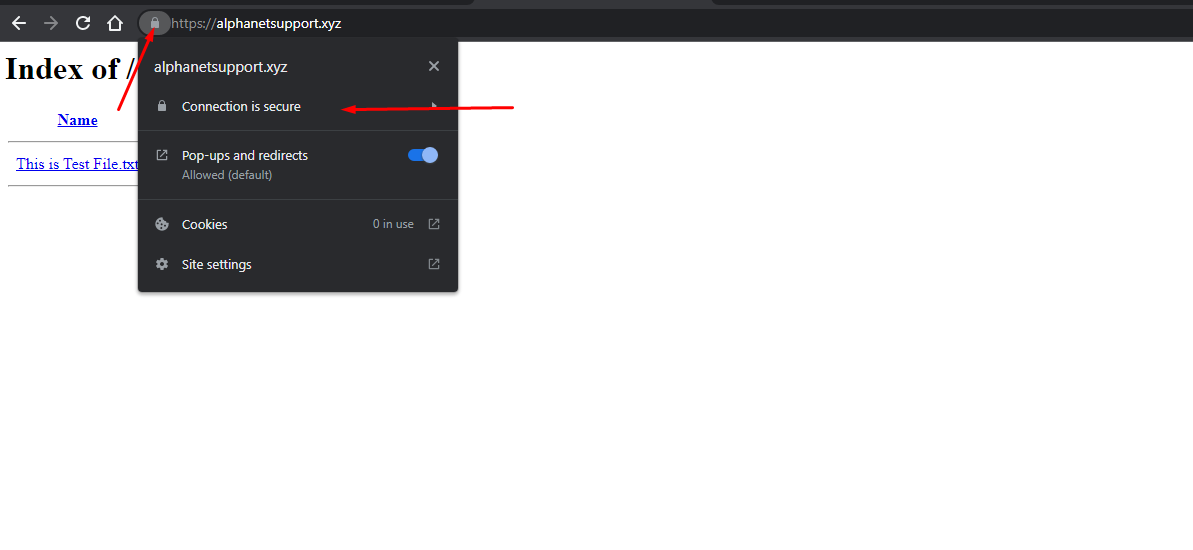
After Complete Install AutoSSL then You can check Your SSL by visit your website with https://
and Your website SSL will show Secure .
Congratulations!! Now you know how to Install Free SSL Certificate on cPanel
We hope the Upload process was easy.
